

This will focus on the HoloLens toolkit for unity 2017.4.10, however you can use it with similar releases.
You can find the HoloLens Toolkit here.

The HoloLens toolkit includes several button prefabs, I’ll be looking specifically at the Holographic Button Prefab, but they all have a similar structure, and each one is tightly packed together it can be hard to get it to cooperate depending on what you want to do; developers have done everything they can to protect the inner workings, so while it’s good that you can’t accidentally break something it does greatly limit what you can do. Some of you may have found that any changes you try to make to the prefab get automatically overwritten.
Unfortunately, it does mean that you’ll have to go into the code of some of these, but you won’t have to edit much.
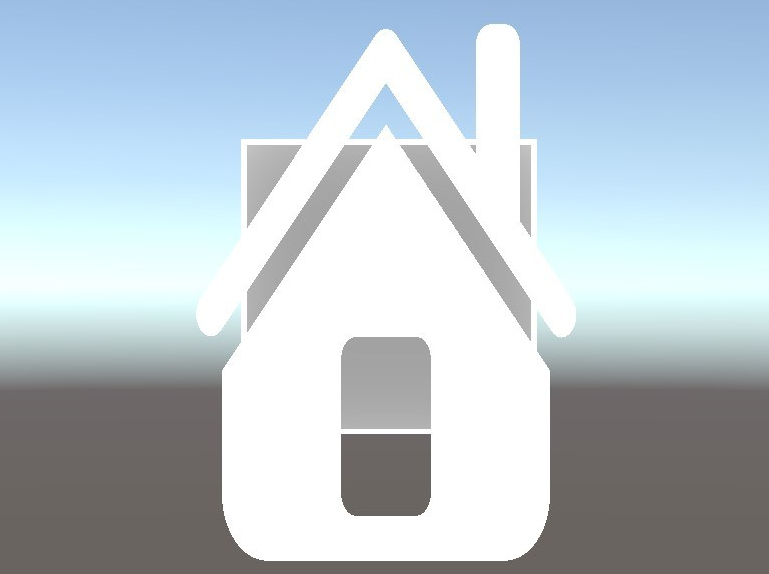
Custom Icon
So you have your button in the scene and icon in your assets folder, the big thing you’re wondering if how to mash the latter onto the former.
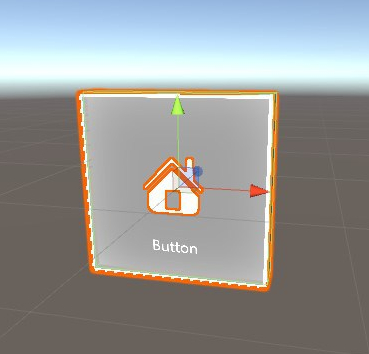
You can use the Override Icon option on the button prefab located here, and just drag your icon onto it. 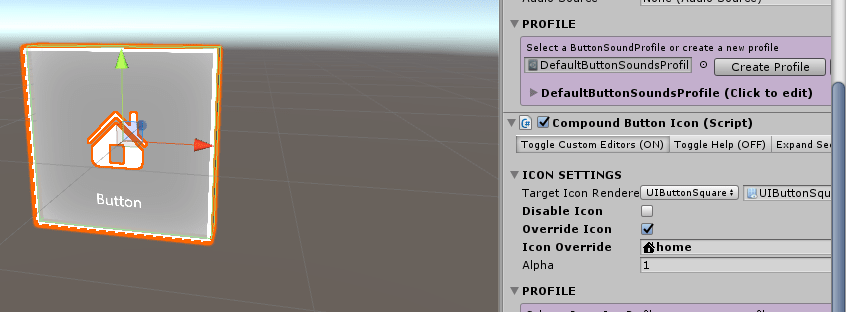
And BAM! You have your own little icon But what do you do in the case of multiple buttons?
Changing the image is surprisingly easy, if a little convoluted; simply follow the same instructions on the HoloLens Toolkit page (I’ll go over them below), but before you can select the icon you added you have to Build first and you’ll then be able to select the icon you added.
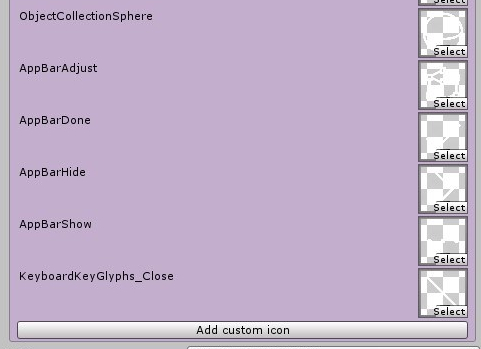
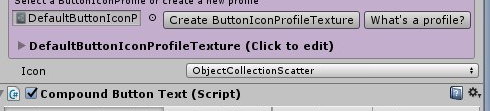
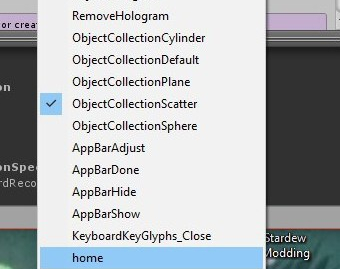
- Under the Compound Button Icon component on the prefab you’ll want to go to the profile table and click on the triangle next to “DefaultButtonProfileTexture” Where you’ll find a list of suggested buttons, you can even assign specific icons for each.
In the case of adding your own you can click “Add Custom Icon” at the bottom which will add another slot.
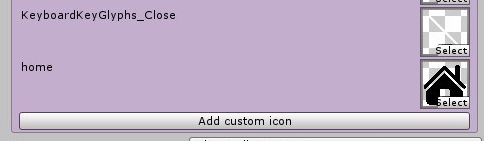
- Put in your icon, don’t worry about naming it as it’ll automatically use the file name.
- Next you must click the play button. Don’t worry you, can stop it running straight after. If I were to hazard a guess to what’s happening in the background I’d say it’s adding the icon information to some internal storage in a script somewhere which can’t happen in editor for whatever reason.
- Exit play mode and go to this little drop-down menu here, and select your icon from the drop down list.
- TA DAAA
Scaling the Icon
As far as I can see there’s no easy way to scale the icon which can be a pain if you want Icon buttons, so we must do that in code ourselves and as a rule of thumb when coding in unity I’d recommend setting variables as public or serialising them to make it easy to alter from the editor.
- Open the Compound Button Icon Script and add this bit of code to the Compound Button Icon Class.

- Go to here and add this. It must be here after it’s set up the icon render otherwise the component will keep on resetting itself.

- TA DAAA!
The only downside with this is that the icons local scale of Vector3 (1, 1, 1) is a wee bit bigger than the default icon size but you can easily get around that by setting the over ride scale to Vector3(0.5, 0.5, 0.5).
Changing colour
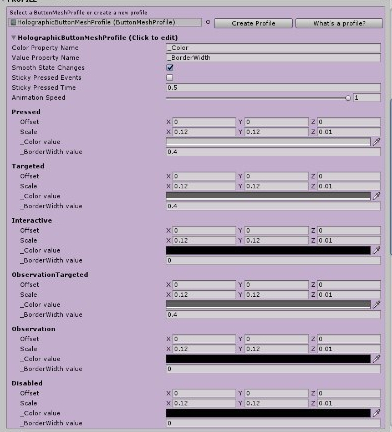
You can even change the colour of the button through Compound Button Mesh component; a different colour for each state. Note that you can’t change the material or colour of the mesh being used directly as everything gets changed through this script at run time.
Changing the Look
A fun thing many of you may know is that you can drastically change the look of the button by replacing the model in the mesh renderer component, although this is done a level down on the prefab, on either the back or front plates. Like so:
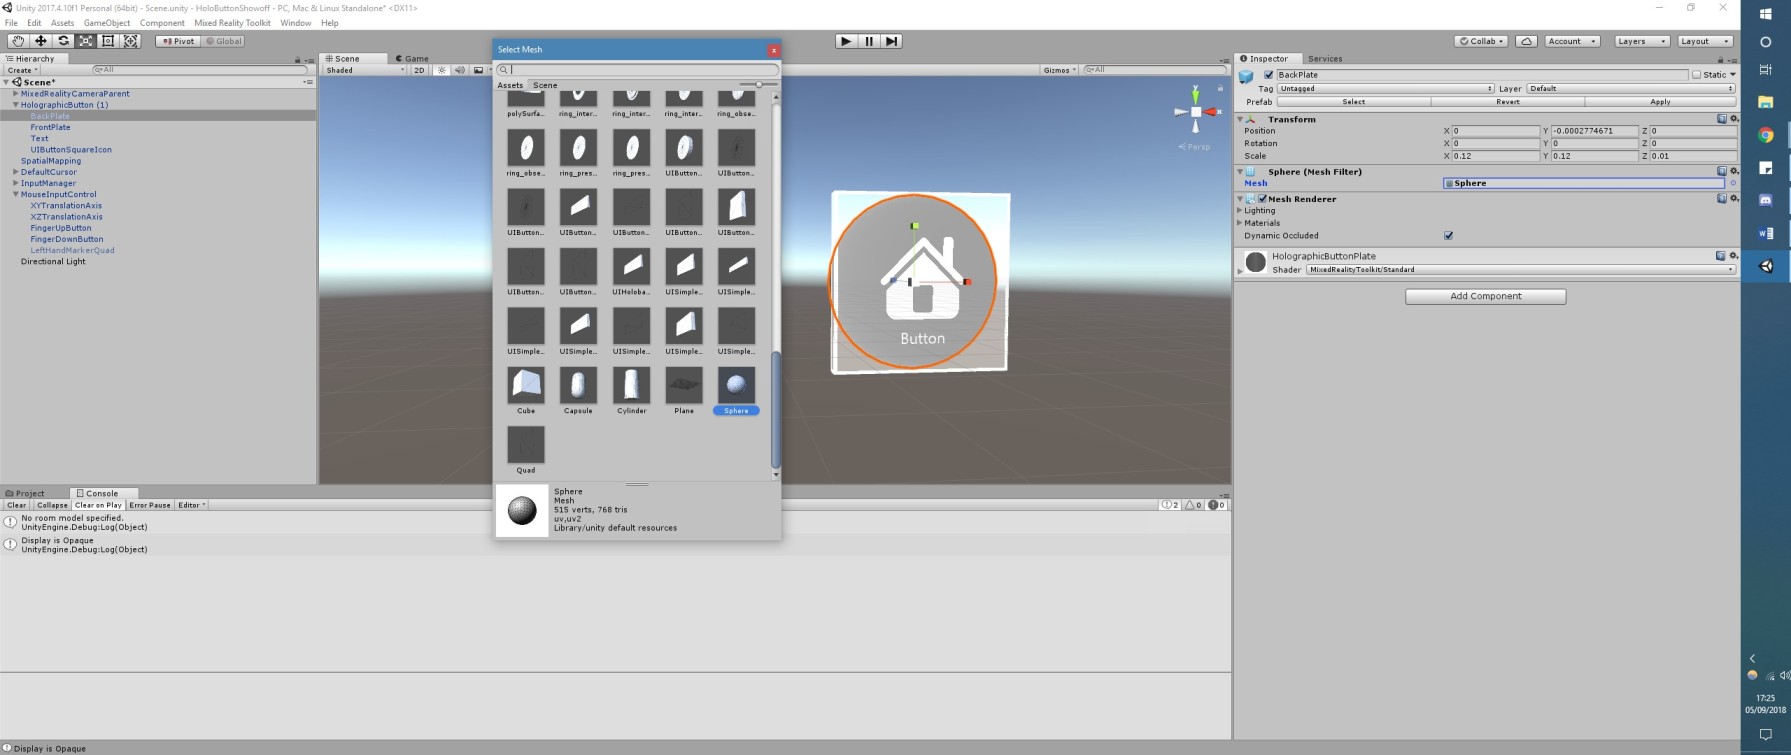
The prefab will automatically add the relevant materials to each plate even as it changes so changing both plates to be spheres will give you something like this:

Of course you can use some wilder models or even have some animated ones as well!
I know I didn’t cover much in this but anything I’ve missed you can find in the HoloLens toolkit guides and documentation, additionally with a new version for the latest Unity editor on the horizon the structure of the buttons may be a bit easier to work with.
The best advice I can give is to really trawl through the documentation the developers have provided; whilst it may not be the best it does give you an idea where to start looking and what you can safely alter to get the results you’re after.
